1. Warm Introduction
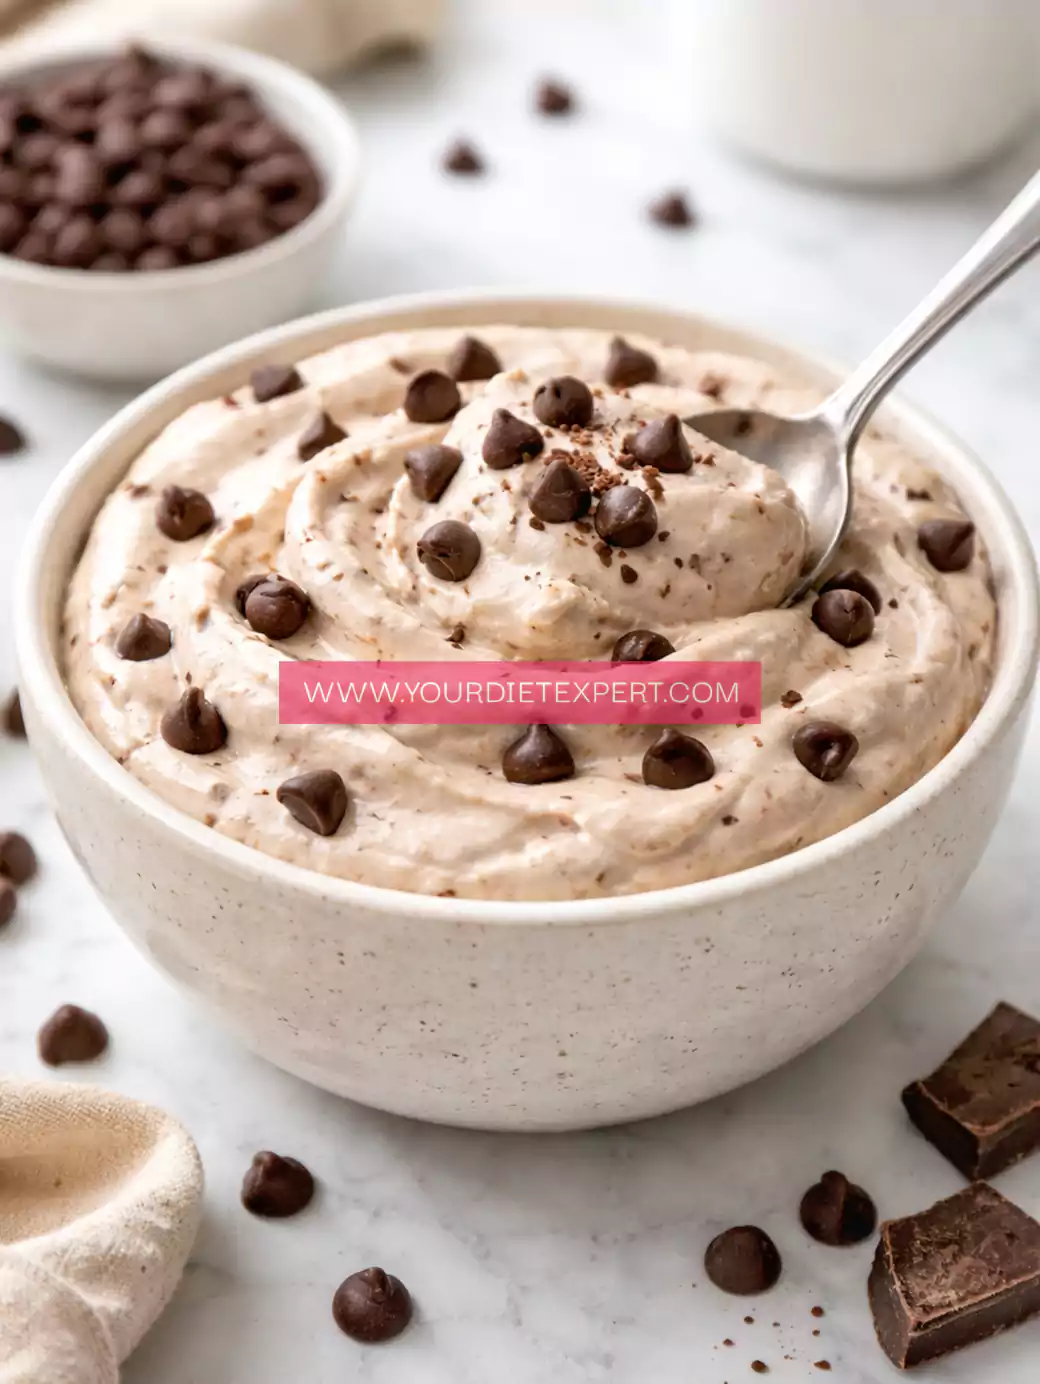
There are days when your body craves something sweet, creamy, and comforting—but your goals demand something clean, nourishing, and protein-packed. That’s exactly where this High-Protein Chocolate Chip Whip Bowl comes in. It’s one of those recipes that feels like a dessert but works like a recovery meal, especially after a long workout or a mentally exhausting day when you still want to stay on track.
I still remember the first time I made this bowl. It was late evening after an intense strength training session. I wanted something cold, fluffy, and indulgent—but I didn’t want to undo all the effort I had just put into my workout. That’s when I experimented with a simple mix of protein powder, yogurt, and a few chocolate chips. One spoon in, and I knew this wasn’t just another “healthy recipe”—this was something special.
The texture is light and airy, almost like a mousse, while the chocolate chips add just enough richness to make it feel like a treat. Yet underneath that indulgence, it’s a macro-friendly recipe designed to support your fitness journey. Whether you’re aiming for fat loss, muscle gain, or simply better eating habits, this bowl fits right in.
2. What Makes This Recipe Stand Out
💪 High Protein Content
This recipe delivers around 30g of protein per serving, making it ideal for muscle repair and growth. Unlike traditional desserts that spike sugar levels, this one fuels your body with high-quality protein.
⚖️ Balanced Macros
You’re not just getting protein—you’re getting a balanced mix of carbs and healthy fats. This balance helps maintain energy levels and prevents cravings later in the day.
🥄 Perfect for Meal Prep
It takes less than 5 minutes to prepare, and you can easily batch it for the week. It holds its texture well, making it a reliable fitness meal prep option.
🍫 Tastes Like Dessert, Works Like Fuel
The creamy base combined with chocolate chips creates a dessert-like experience. However, it supports clean eating, making it perfect for anyone trying to stay consistent.
🏋️ Ideal for Recovery
After workouts, your muscles need protein. This bowl delivers fast-digesting nutrients that help with recovery, reduce soreness, and support lean muscle growth.
3. Personal Blogger Note
I first made this High-Protein Chocolate Chip Whip Bowl during a phase when I was trying to increase my protein intake without feeling like I was constantly eating heavy meals. Honestly, I was tired of plain shakes and boring snacks. I needed something exciting—something I could look forward to.
The first version wasn’t perfect. It was a bit too thick, slightly grainy, and lacked that smooth whipped texture. But after a few tweaks—adjusting the liquid ratio, blending longer, and choosing the right protein—I finally nailed it. That’s when it became a staple in my routine.
Now, this bowl is my go-to after workouts or even as a late-night snack. It satisfies my sweet tooth, keeps me full, and most importantly, keeps me consistent with my nutrition goals. And consistency, as you know, is where real results happen.
4. Equipment Needed
You don’t need anything fancy, but having the right tools makes a big difference in texture and ease.
- Mixing Bowl – Essential for combining ingredients evenly
- Hand Mixer or Whisk – Helps create that light, whipped texture
- Blender (Optional) – Ideal for ultra-smooth consistency
- Spatula – Ensures no ingredient is wasted
- Measuring Cups & Spoons – Important for macro accuracy
Using a mixer or blender is especially helpful. It prevents clumps and gives the bowl that fluffy, mousse-like finish that makes it feel indulgent.
5. Ingredients with Substitutions
Core Ingredients
- 1 scoop protein powder (whey or casein)
The main protein source. Casein creates a thicker texture, while whey is lighter. - ½ cup Greek yogurt (low-fat or full-fat)
Adds creaminess and boosts protein content. - 2–4 tbsp milk (or almond milk)
Helps adjust consistency. - 1 tbsp cocoa powder (optional)
Enhances chocolate flavor without extra sugar. - 1–2 tbsp chocolate chips (dark preferred)
Adds texture and indulgence. - Sweetener (optional: stevia, honey, or maple syrup)
Adjust to taste.
Smart Substitutions
- Dairy-Free Option: Use coconut yogurt + plant protein
- Low-Calorie Option: Replace chocolate chips with cacao nibs
- Higher Protein Boost: Add cottage cheese (blended smooth)
- Keto Version: Use sugar-free chocolate chips + erythritol
Each swap slightly affects texture. For example, plant protein may make it thicker, while almond milk keeps it lighter.
6. Step-by-Step Cooking Process
Step 1: Build the Base
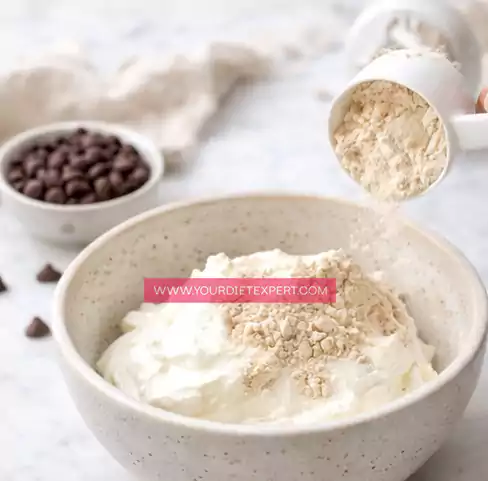
Start by adding Greek yogurt and protein powder into a mixing bowl. Mix gently at first to avoid clumping.
Tip: Add protein gradually for smoother blending.
Step 2: Adjust Consistency
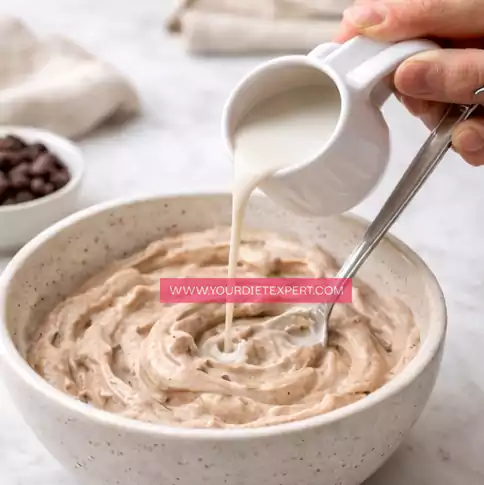
Slowly add milk while mixing. Continue until you reach a creamy, thick consistency.
Tip: Add liquid in small amounts to avoid making it too runny.
Step 3: Whip It Up
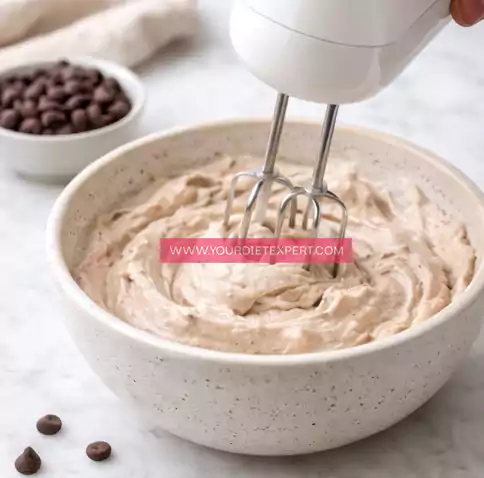
Use a hand mixer or whisk to whip the mixture for 1–2 minutes. This step creates that fluffy, airy texture.
Step 4: Add Flavor

Mix in cocoa powder and sweetener if desired. Blend until fully combined.
Step 5: Fold in Chocolate Chips
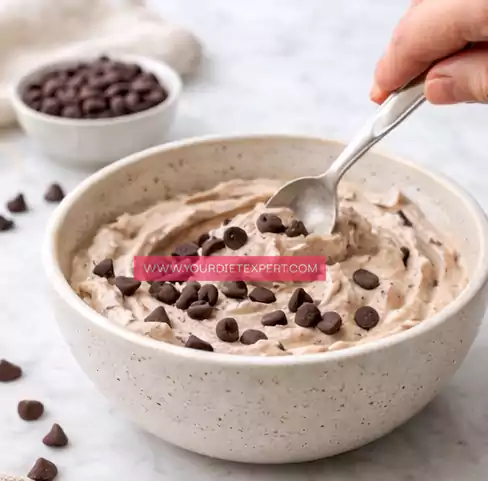
Gently fold in chocolate chips to maintain texture.
Step 6: Chill (Optional)
For best results, refrigerate for 10–15 minutes. This enhances thickness and flavor.
7. Health & Nutrition Insights 💪
This recipe supports your body in multiple ways:
- Muscle Recovery: High protein intake helps repair muscle fibers
- Satiety: Keeps you full longer, reducing unnecessary snacking
- Stable Energy: Balanced macros prevent sugar crashes
- Metabolism Support: Protein requires more energy to digest, boosting calorie burn
It’s not just a dessert—it’s a strategic addition to a high-protein diet.
8. High Protein Plan & Macro Insights 📊
Estimated Macros (Per Serving)
- Calories: ~250–300 kcal
- Protein: ~30g
- Carbs: ~15–20g
- Fat: ~8–10g
When to Eat It
- Post-workout recovery
- Evening snack to prevent late-night cravings
- Quick breakfast alternative
Goal-Based Adjustments
- Bulking: Add nut butter or granola
- Cutting: Use low-fat yogurt + fewer chips
- Maintenance: Keep as is
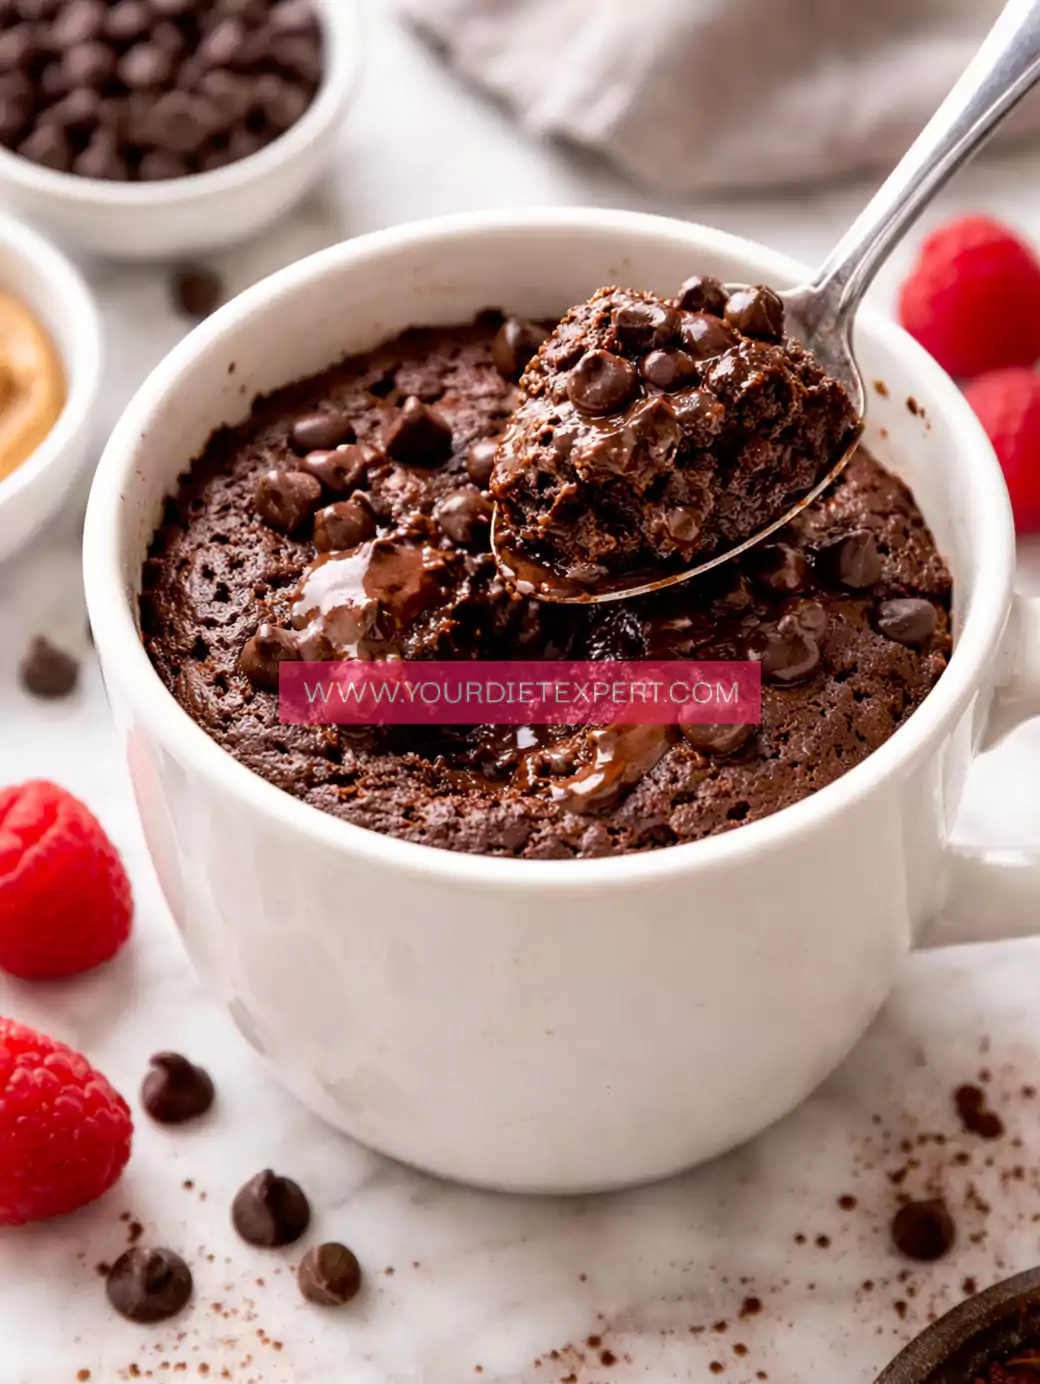
9. Serving + Pairing Ideas 🍽️
- Top with berries for freshness
- Add granola for crunch
- Pair with a protein smoothie for a full meal
- Serve chilled for dessert-like experience
Perfect for:
- Post-workout snack
- Healthy dessert
- Meal prep containers
10. Storage & Meal Prep Tips 🧊
- Store in airtight container for up to 2 days
- Keep refrigerated for best texture
- Avoid freezing (affects texture)
- Prep in small portions for convenience
11. FAQ Section ❓
Can I make this dairy-free?
Yes. Use plant-based yogurt and protein powder. Texture may be slightly thicker.
How much protein per serving?
Approximately 25–35g depending on ingredients.
Can I use plant protein?
Absolutely. Just adjust liquid since plant protein absorbs more moisture.
Can I prep this for the week?
Yes, but best consumed within 2–3 days for freshness.
12. Kitchen Tips & Troubleshooting Notes
- If too thick → add milk
- If too runny → add protein powder
- For smoother texture → blend instead of whisk
- For extra fluff → whip longer
13. Nutrition Breakdown
- Calories: 280 kcal
- Protein: 30g
- Fat: 9g
- Carbs: 18g
- Fiber: 3g
14. Recipe Details
- Prep Time: 5 minutes
- Cook Time: 0 minutes
- Total Time: 5 minutes
- Course: Dessert / Snack
- Cuisine: Healthy / Fitness
- Servings: 1
- Calories: 280 kcal
15. Closing Note ❤️
This High-Protein Chocolate Chip Whip Bowl has become one of those recipes I genuinely look forward to. It’s simple, satisfying, and perfectly aligned with a healthy lifestyle. Every spoon feels like a reward—but it’s actually fueling your progress.
If you’re trying to stay consistent, reduce cravings, and still enjoy your food, this recipe deserves a spot in your weekly routine.
High-Protein Chocolate Chip Whip Bowl Recipe
Ingredients
Method
- Start by adding the Greek yogurt into a clean mixing bowl, then gradually sprinkle in the protein powder while gently stirring with a spoon or spatula. Mixing slowly at this stage helps prevent clumps and keeps the texture smooth. Take your time here—this step sets the foundation for a creamy, lump-free whip.
- Begin adding milk little by little while continuing to mix. Don’t pour it all in at once. Stir continuously and watch the texture closely as it transforms into a thick, smooth, and creamy consistency. If it feels too thick, add a tiny splash more milk; if it becomes too thin, you can balance it with a small amount of extra protein powder.
- Once the mixture is smooth, use a whisk or hand mixer to whip it for about 1–2 minutes. This step is what creates that light, airy, mousse-like texture. You’ll notice the mixture becoming fluffier and slightly increased in volume—this is exactly what you want.
- Add the cocoa powder and your preferred sweetener, then mix thoroughly until everything is fully combined. Make sure there are no dry pockets of cocoa, and taste the mixture to adjust sweetness if needed. This is where the rich chocolate flavor really comes together.
- Gently fold in the chocolate chips using a spatula or spoon. Avoid overmixing here—just lightly incorporate them so they stay evenly distributed while maintaining the airy texture you’ve created.
- For the best texture and flavor, place the bowl in the refrigerator for about 10 minutes before serving. This allows the mixture to firm up slightly and enhances the overall creaminess. Once chilled, give it a quick stir if needed and enjoy your perfectly smooth, high-protein chocolate chip whip bowl.

Leave a Reply