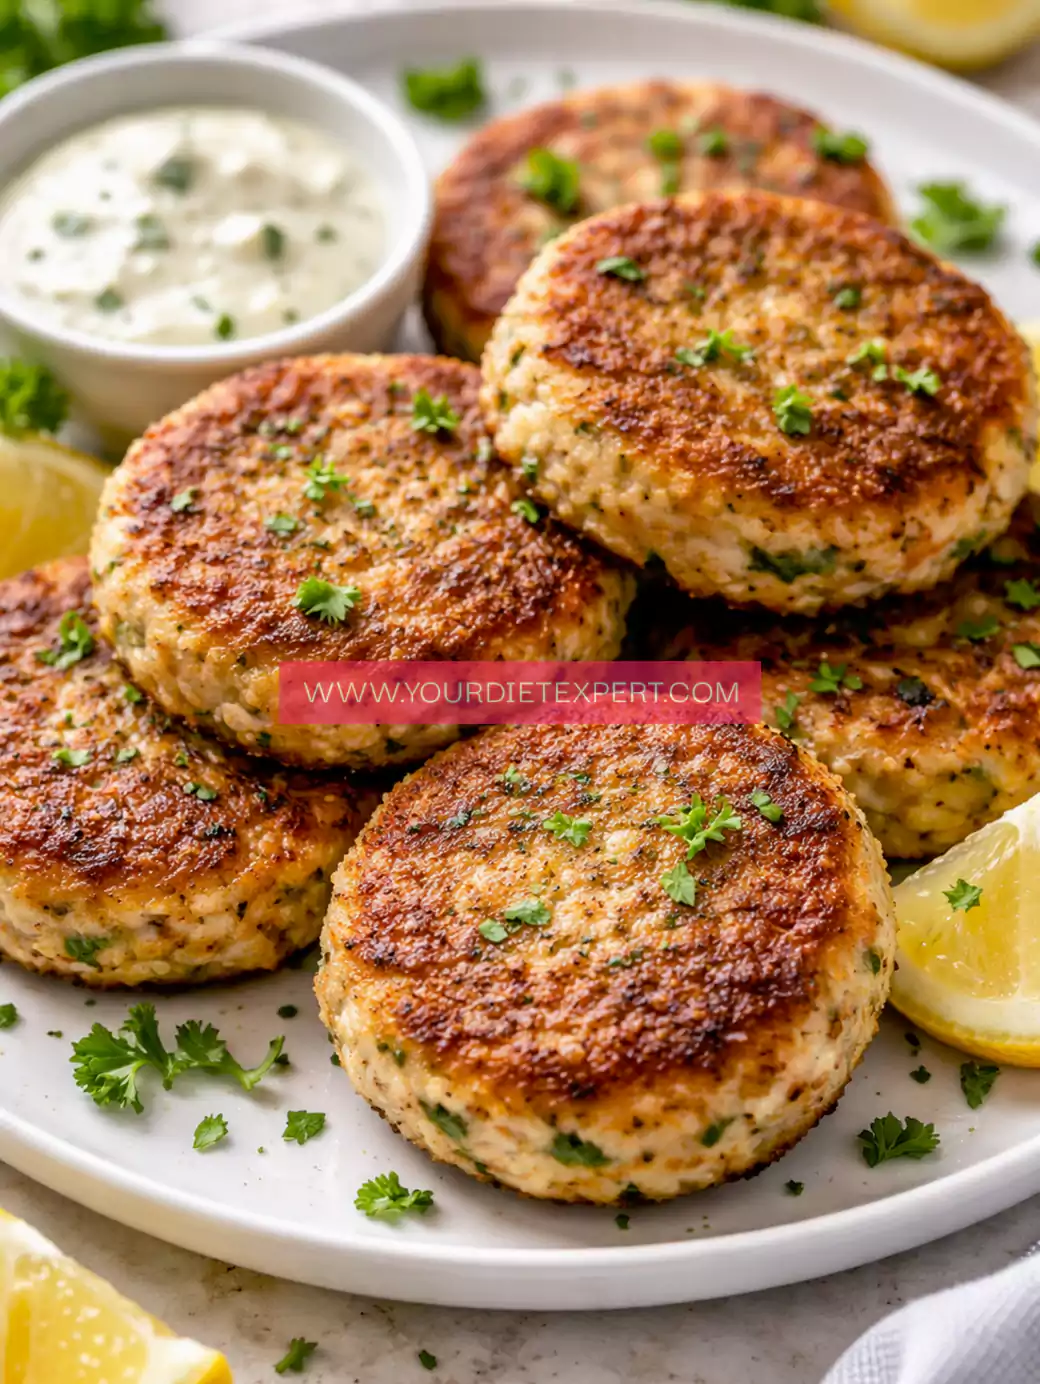
Warm Introduction
There’s something deeply satisfying about biting into perfectly crispy chicken — that golden crust giving way to juicy, tender meat inside. But for the longest time, traditional fried chicken felt like something I had to avoid while staying consistent with my fitness goals. That’s exactly why I created this High-Protein Crispy Fried Chicken (Healthy, Low-Carb & Oven/Air Fryer Friendly) — a version that delivers the same comfort, but with a purpose.
I remember coming home after a tough workout, craving something crunchy and satisfying. Not a salad, not another plain meal — something that actually felt rewarding. Instead of giving in to greasy takeout, I decided to experiment in the kitchen with a cleaner approach.
What came out of the oven that day surprised me. It was crispy, flavorful, and most importantly, it didn’t feel like a compromise. This recipe has since become a staple — a reminder that you can enjoy your favorite comfort foods while still fueling your body the right way.
What Makes This Recipe Stand Out
This isn’t just a healthier fried chicken — it’s a macro-friendly recipe designed to support your goals.
High Protein Content
Using lean chicken as the base, this recipe delivers a strong protein punch. Each serving helps support muscle repair and growth, making it an ideal muscle-building meal.
Balanced Macros
Instead of deep frying and using refined flour, this version relies on clean, low-carb coatings that keep calories controlled while maintaining texture.
Perfect for Meal Prep
The chicken stays juicy and reheats well, making it perfect for fitness meal prep. You can prepare it ahead and enjoy throughout the week.
Crispy Without Deep Frying
Thanks to smart techniques and coating choices, you still get that crunchy exterior — without excess oil.
Supports a Healthy Lifestyle
It fits seamlessly into weight-loss plans, high-protein diets, and even low-carb lifestyles.
Personal Blogger Note
I first made this version of fried chicken after a phase where I felt stuck between cravings and discipline. I wanted something comforting, but I didn’t want to undo the progress I had worked so hard for.
The first attempt wasn’t perfect — it lacked that crunch I was looking for. So I experimented with coatings, adjusted cooking methods, and tested both oven and air fryer versions.
When I finally got it right, it changed everything. That moment when you bite into crispy chicken and realize it actually fits your goals — that’s what makes this recipe special. Now, it’s one of those meals I rely on when I want something satisfying without compromise.
Equipment Needed
- Mixing Bowls – For marinating and coating the chicken
- Air Fryer or Oven – Both methods work for achieving crispiness
- Wire Rack (optional) – Helps airflow for even cooking
- Tongs – For handling chicken without damaging coating
- Baking Tray – For oven cooking
These tools help preserve moisture while ensuring the coating crisps properly.
Ingredients with Substitutions
Main Ingredients:
- 500g chicken breast or thighs (lean protein source)
- 1 cup Greek yogurt (marinade + protein boost)
- 1 egg (binding)
Coating:
- ½ cup almond flour
- ¼ cup grated parmesan
- 1 tsp paprika
- 1 tsp garlic powder
- ½ tsp salt
- ½ tsp black pepper
Smart Substitutions
- Oat flour instead of almond flour: slightly higher carbs
- Crushed cornflakes (controlled amount): extra crunch
- Plant-based yogurt: dairy-free option
- Chicken thighs instead of breast: juicier but higher fat
Each variation slightly changes macros but keeps the concept intact.
Step-by-Step Cooking Process
Marinating the Chicken

Coat chicken pieces in Greek yogurt and seasoning. Let it sit for at least 30 minutes.
Tip: Longer marination improves tenderness.
Preparing the Coating
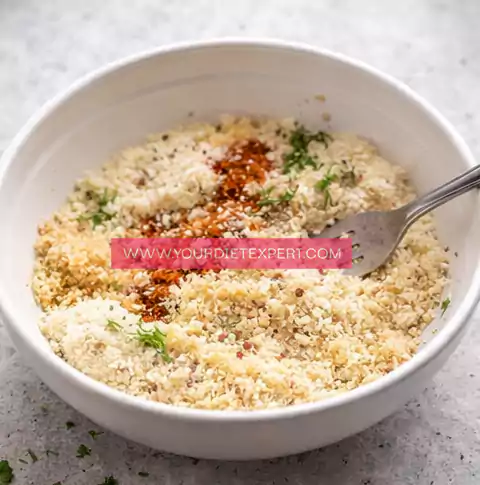
Mix almond flour, parmesan, and spices in a bowl.
Coating the Chicken

Dip marinated chicken into egg, then coat evenly with the dry mixture.
Cooking (Oven Method)
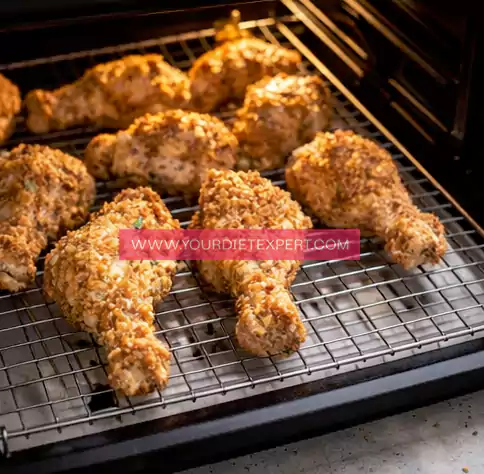
Bake at 200°C (400°F) for 25–30 minutes until golden and crispy.
Cooking (Air Fryer Method)
Cook at 180°C (360°F) for 15–20 minutes, flipping halfway.
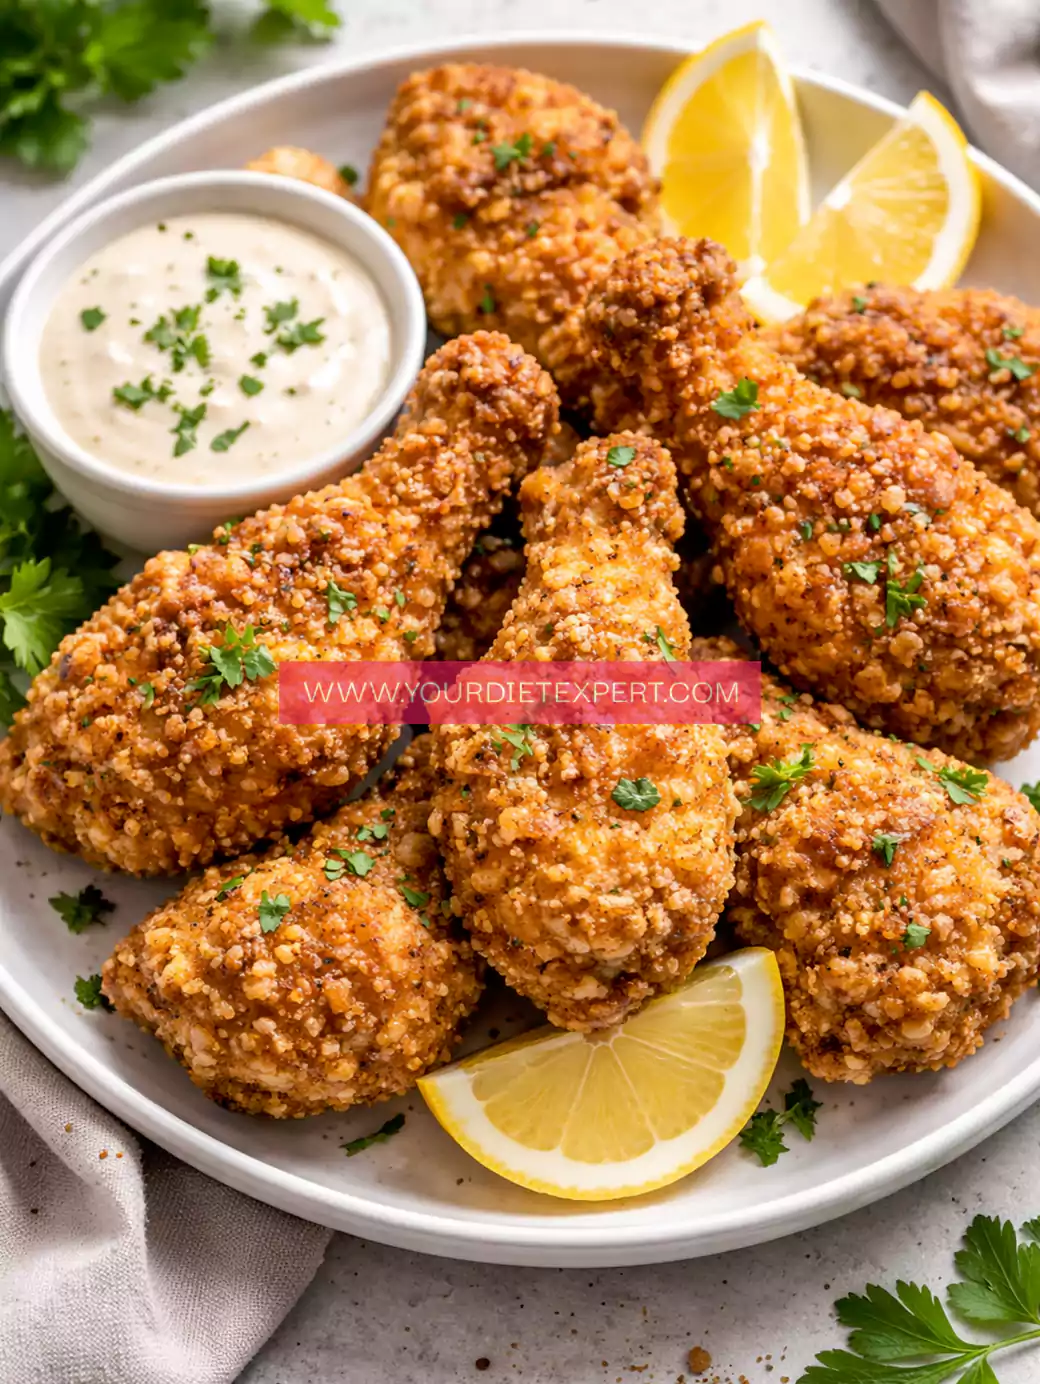
Serving
Let rest for a few minutes before serving.
Health & Nutrition Insights 💪
Protein is essential for muscle recovery and overall body function. This recipe provides high-quality protein while keeping unhealthy fats low.
Additionally, replacing deep frying with baking or air frying significantly reduces calorie intake while maintaining flavor.
Balanced meals like this help control hunger, stabilize energy, and support long-term health goals.
High Protein Plan & Macro Insights 📊
Estimated Macros (per serving):
- Protein: 35–40g
- Carbs: 6–10g
- Fats: 10–12g
How to Use:
- Post-workout meal: ideal for recovery
- Cutting phase: keeps calories controlled
- Maintenance: satisfying and balanced
Serving + Pairing Ideas 🍽️
- Serve with roasted vegetables
- Pair with a fresh salad
- Add quinoa or rice if needed
Perfect for:
- Dinner
- Meal prep
- Family meals
Storage & Meal Prep Tips 🧊
- Store in fridge for up to 4 days
- Reheat in oven or air fryer for crispiness
- Freeze for longer storage
FAQ Section ❓
Can I make this dairy-free?
Yes, use plant-based yogurt.
How much protein per serving?
Around 35–40g.
Can I use thighs instead of breast?
Yes, they’re juicier but slightly higher in fat.
Can I prep ahead?
Absolutely, it’s ideal for meal prep.
Kitchen Tips & Troubleshooting Notes
- Don’t overcrowd the pan or tray
- Flip halfway for even crispiness
- Let chicken rest before serving
- Adjust seasoning to taste
Nutrition Breakdown (Per Serving)
- Calories: ~350
- Protein: 38g
- Fat: 11g
- Carbs: 8g
- Fiber: 2g
Recipe Details
- Prep Time: 15 minutes
- Cook Time: 25 minutes
- Total Time: 40 minutes
- Course: Dinner
- Cuisine: Healthy
- Servings: 3–4
- Calories: ~350
Closing Note ❤️
This recipe has become a weekly staple — high in protein, full of flavor, and keeps me on track with my fitness goals. It proves that you don’t have to give up your favorite foods to stay healthy.
High-Protein Crispy Fried Chicken Recipe
Ingredients
Method
- Add the chicken pieces into a large mixing bowl and pour in the Greek yogurt along with your seasoning. Using your hands or a spoon, coat each piece thoroughly so that every surface is evenly covered. This step is important because the yogurt not only adds flavor but also helps tenderize the chicken.
- Once fully coated, cover the bowl and let the chicken marinate for at least 30 minutes. If you have more time, letting it sit longer (even up to a few hours in the fridge) will deepen the flavor and make the chicken even more tender and juicy.
- While the chicken is marinating, take a separate bowl and add the almond flour, grated parmesan, and spices. Mix everything well until the coating is evenly combined, with no clumps, so each piece of chicken gets a consistent crispy layer.
- After marination, dip each piece of chicken into a bowl of beaten egg, making sure it is fully coated. Then transfer it into the dry mixture and press gently so the coating sticks well on all sides. Take your time to ensure an even coating for the best crispiness.
- Place the coated chicken pieces onto a baking tray lined with parchment paper or into an air fryer basket. Arrange them in a single layer with a little space between each piece so the heat can circulate properly and cook them evenly.
- Cook the chicken in a preheated oven at 200°C (400°F) for 25–30 minutes, or in an air fryer at 180°C (360°F) for 15–20 minutes. Flip the pieces halfway through cooking to ensure both sides become evenly golden and crispy.
- Once the chicken is fully cooked and has a crispy, golden exterior, remove it from the oven or air fryer and let it rest for a few minutes. This resting time helps the juices settle inside, keeping the chicken moist and flavorful when served.
Leave a Reply