1. Warm Introduction
There’s something deeply comforting about the combination of peanut butter and chocolate. It reminds me of those moments when you just need a quick bite of something sweet—but not something that throws you completely off track. That’s exactly why I fell in love with these High-Protein Peanut Butter Chocolate Bites (No-Bake). They feel indulgent, rich, and satisfying, yet they’re built to support your fitness goals.
I remember one evening after a long, exhausting workout. My body was craving something sweet, but I knew I needed protein to recover properly. Instead of reaching for processed snacks, I decided to create something simple using ingredients I already had at home. The result? These creamy, chocolate-coated bites that instantly became a staple in my routine.
Each bite delivers that perfect balance—soft, slightly chewy peanut butter center wrapped in a smooth chocolate coating. It’s the kind of snack that feels like a treat but functions like a muscle-building meal addition. Whether you’re on a weight-loss journey, building lean muscle, or just trying to eat cleaner, these bites fit effortlessly into your lifestyle.
2. What Makes This Recipe Stand Out
💪 High Protein Content
Unlike traditional desserts, these bites are packed with protein thanks to peanut butter powder and Greek yogurt. Each serving supports muscle repair and recovery, making it ideal for active individuals.
⚖️ Balanced Macros
This recipe isn’t just about protein—it’s about balance. You get healthy fats, controlled carbs, and a satisfying texture that keeps you full longer.
🥶 Perfect for Meal Prep
Because they’re no-bake, you can prepare a batch in advance and store them easily. They hold their shape well, making them perfect for grab-and-go snacks.
🍫 Indulgent Yet Clean
They taste like a dessert you’d crave, but they align with clean eating principles. That combination makes them incredibly sustainable in a healthy lifestyle.
🏋️ Supports Fitness Goals
These bites work as a macro-friendly recipe that helps with recovery, reduces cravings, and supports consistent nutrition habits.
3. Personal Blogger Note
I first made these High-Protein Peanut Butter Chocolate Bites (No-Bake) during a time when I was struggling to stay consistent with my nutrition. I was eating clean most of the day, but evenings were tough. That’s when cravings hit the hardest.
So instead of fighting those cravings, I decided to work with them. I created something that satisfied my sweet tooth while still helping me hit my protein goals. The first batch wasn’t perfect—it was a little too soft—but after adjusting the ratios, I found the perfect balance.
Now, these bites are always in my fridge. They’ve become my go-to snack after workouts, during busy afternoons, or even late at night when I want something sweet without guilt. And honestly, they’ve made staying consistent so much easier.
4. Equipment Needed
You don’t need complicated tools, but a few basics will make the process smooth:
- Mixing Bowl – For combining ingredients evenly
- Spatula or Spoon – Helps mix without overworking the dough
- Measuring Cups – Ensures macro accuracy
- Tray or Plate – For shaping and chilling the bites
- Refrigerator – Essential for setting texture
- Microwave-safe Bowl – For melting chocolate smoothly
Having the right tools ensures the texture stays consistent and the bites hold their shape properly.
5. Ingredients with Substitutions
Core Ingredients
- ¾ cup powdered peanut butter
High in protein and lower in fat than regular peanut butter. - 4 oz plain fat-free Greek yogurt
Adds creaminess and boosts protein. - 80 chocolate chips (or ~½ cup)
Provides the chocolate coating.
Smart Substitutions
- Dairy-Free Option: Use coconut yogurt
- Higher Protein Boost: Add a scoop of protein powder
- Lower Sugar Option: Use sugar-free chocolate chips
- Creamier Texture: Add a small amount of almond butter
Each substitution slightly changes texture and macros, so adjust based on your goals.
6. Step-by-Step Cooking Process
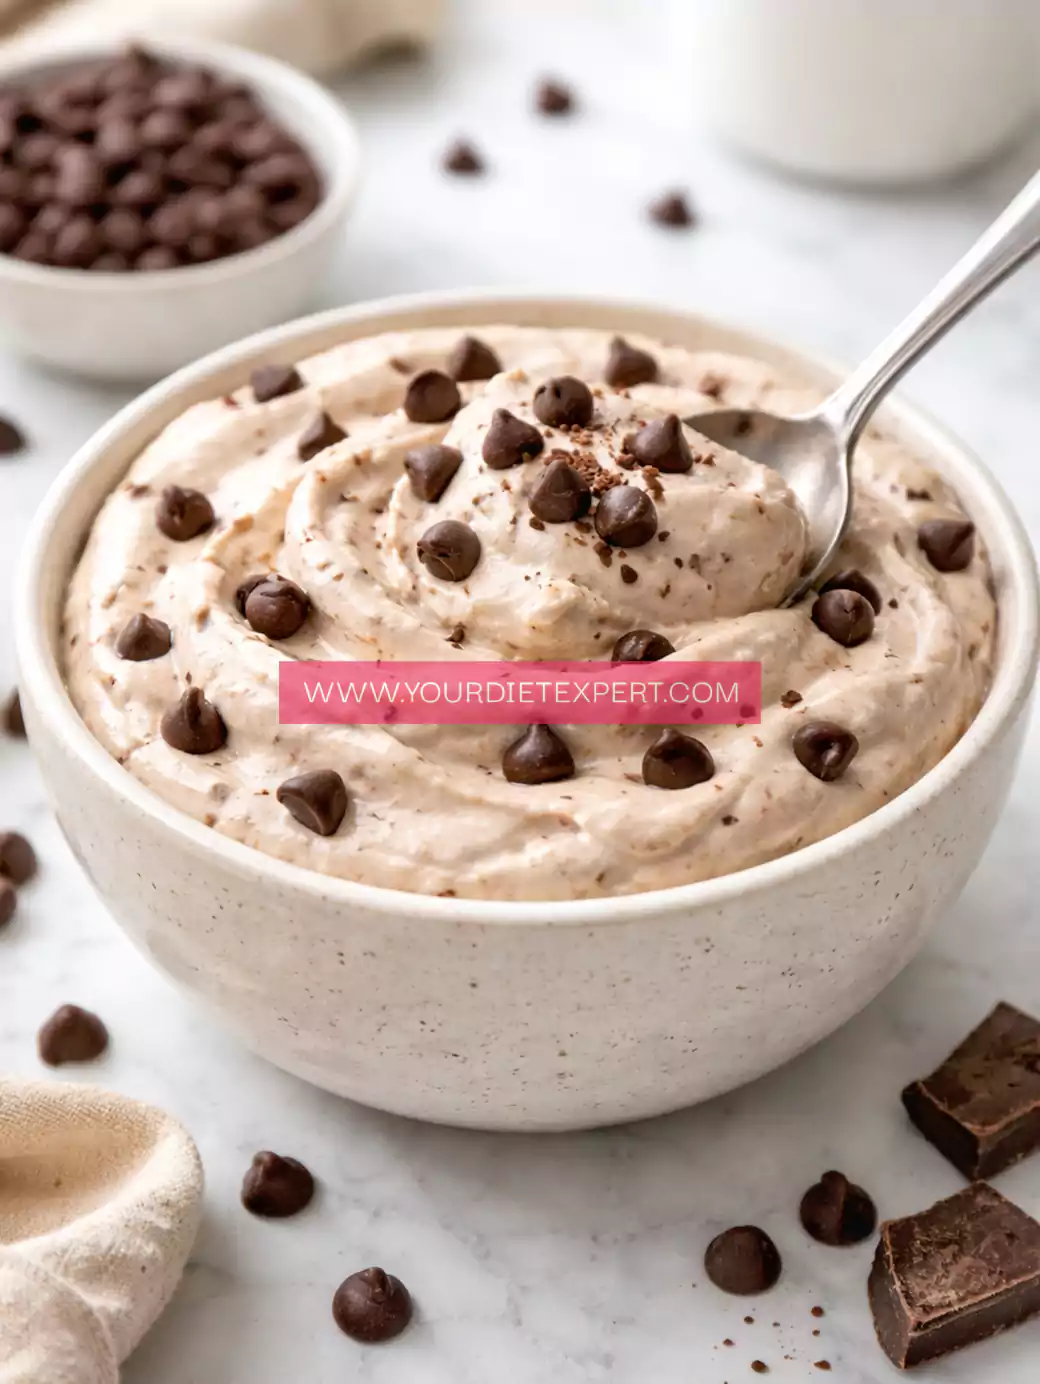
Step 1: Create the Base

Combine powdered peanut butter and Greek yogurt in a bowl. Mix until it forms a thick, dough-like consistency.
Tip: If too dry, add a small amount of yogurt.
Step 2: Shape the Bites

Roll the mixture into small balls using your hands. Place them on a tray.
Step 3: First Chill
Refrigerate for 15 minutes to firm up the structure.
Step 4: Melt Chocolate
Melt chocolate chips in a microwave-safe bowl in short intervals, stirring between each.
Step 5: Coat the Bites
Dip each peanut butter ball into melted chocolate, ensuring full coverage.
Step 6: Final Chill
Place coated bites back in the fridge for another 15 minutes until the chocolate sets.

7. Health & Nutrition Insights 💪
These bites are more than just a snack—they’re functional nutrition:
- Muscle Recovery: Protein supports tissue repair
- Satiety: Keeps hunger under control
- Energy Stability: Prevents sugar crashes
- Metabolic Support: Protein boosts thermogenesis
8. High Protein Plan & Macro Insights 📊
Estimated Macros (Per Serving)
- Calories: ~120
- Protein: ~8–10g
- Carbs: ~10g
- Fat: ~5g
When to Eat
- Post-workout snack
- Midday energy boost
- Evening craving control
Adjustments
- Bulking: Add nuts or extra chocolate
- Cutting: Use less chocolate coating
- Maintenance: Keep balanced portions
9. Serving + Pairing Ideas 🍽️
- Pair with a protein shake
- Serve with fruit for balance
- Add to meal prep snack boxes
- Enjoy as a dessert alternative
10. Storage & Meal Prep Tips 🧊
- Store in airtight container
- Keep refrigerated up to 5 days
- Freeze for longer storage
- Portion individually for easy access
11. FAQ Section ❓
Can I make this dairy-free?
Yes, use plant-based yogurt. Texture may vary slightly.
How much protein per serving?
Around 8–10g depending on size and ingredients.
Can I use plant-based protein?
Yes, but adjust moisture as needed.
Can I prep this for the week?
Absolutely. They store well and maintain texture.
12. Kitchen Tips & Troubleshooting Notes
- If mixture is too sticky → chill before shaping
- If too dry → add yogurt
- Melt chocolate slowly to avoid burning
- Use clean hands for better shaping
13. Nutrition Breakdown
- Calories: 120
- Protein: 9g
- Fat: 5g
- Carbs: 10g
- Fiber: 2g
14. Recipe Details
- Prep Time: 10 minutes
- Chill Time: 30 minutes
- Total Time: 40 minutes
- Course: Snack / Dessert
- Cuisine: Healthy
- Servings: 10–12 bites
- Calories: 120 per serving
15. Closing Note ❤️
These High-Protein Peanut Butter Chocolate Bites (No-Bake) have truly become one of those recipes I rely on week after week. They’re simple, satisfying, and perfectly aligned with a healthy lifestyle. Every bite feels like a treat—but it’s actually helping you stay consistent and strong.

High-Protein Peanut Butter Chocolate Bites Recipe
Ingredients
Method
- Add the powdered peanut butter and Greek yogurt to a mixing bowl, then begin combining them slowly using a spoon or spatula. Keep mixing until the texture transforms into a thick, soft dough that holds together easily. If the mixture feels too dry or crumbly, add a small spoon of yogurt and mix again until smooth and workable.
- Scoop small portions of the dough and gently roll them between your palms to form evenly sized balls. Try to keep them uniform so they chill and set evenly. Place each ball onto a tray or plate lined with parchment paper to prevent sticking.
- Transfer the tray to the refrigerator and let the peanut butter balls chill for about 15 minutes. This step helps them firm up, making them easier to handle and ensuring they don’t fall apart during dipping.
- While the balls are chilling, add the chocolate chips to a microwave-safe bowl. Heat them in short intervals of about 20–30 seconds, stirring after each round until the chocolate is completely melted and smooth. Be careful not to overheat, as chocolate can burn quickly.
- Remove the chilled peanut butter balls from the refrigerator. Using a fork or spoon, dip each ball into the melted chocolate, turning it gently to coat all sides evenly. Let any excess chocolate drip off before placing it back onto the lined tray.
- Once all the balls are coated, return the tray to the refrigerator for another 15 minutes. This allows the chocolate to fully set and create a smooth, firm outer shell.
- After chilling, your bites are ready to enjoy. Serve them straight from the fridge for the best texture, and store any leftovers in an airtight container to keep them fresh and delicious.

Leave a Reply