There’s something deeply comforting about dishes that remind you of home—even if they come in a completely unexpected form. Growing up, pierogies were always one of those cozy, satisfying meals. Soft dumplings, creamy fillings, buttery flavors… it was the kind of food that felt like a warm hug on a plate.
But when I shifted toward a healthier, low-carb lifestyle, I assumed those kinds of meals were off the table. That’s exactly where this recipe was born. These Keto Pierogi Nachos (Low Carb Loaded Comfort Food with Cheesy Toppings) are my way of bringing that same comfort back—just reimagined in a smarter, lighter, and honestly more exciting way.
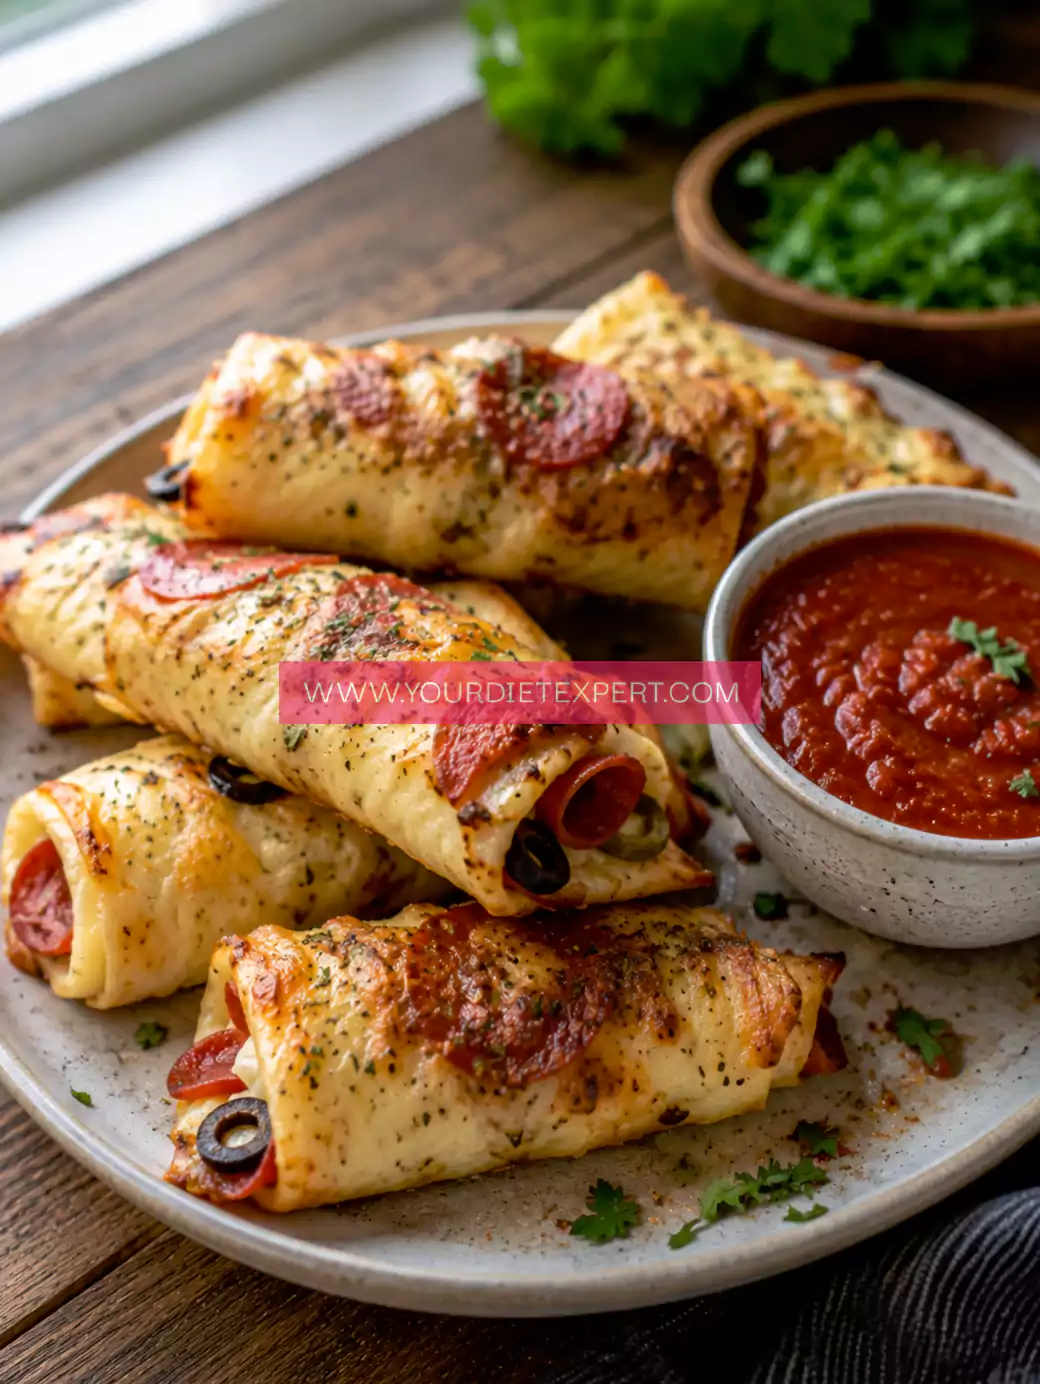
Instead of traditional dumplings, we transform the concept into crispy, golden “nacho-style” bites layered with creamy, cheesy toppings. The result? A dish that feels indulgent, tastes incredible, and still fits perfectly into a keto or low-carb lifestyle.
What Makes These Keto Pierogi Nachos Stand Out
This recipe isn’t just about replacing ingredients—it’s about rethinking the entire experience.
First, the texture contrast is what makes it addictive. You get crispy, golden bases that mimic pierogi bites, layered with creamy, melty toppings. Every bite has crunch, softness, and richness all at once.
Secondly, it’s incredibly time-efficient compared to traditional pierogies. No rolling dough, no stuffing dumplings individually. Everything is simplified into a layered dish that’s easy to assemble and even easier to enjoy.
Another standout feature is how flexible and customizable it is. You can:
- Add protein like shredded chicken or beef
- Adjust toppings for spice or richness
- Make it lighter or more indulgent depending on your goals
And most importantly, it hits that rare sweet spot:
👉 Comfort food that still supports weight loss and balanced eating
A Personal Note From My Kitchen
The first time I made this dish, it honestly started as an experiment. I was craving something cheesy and comforting, but I didn’t want to spend hours recreating traditional pierogies.
So I thought—what if I take the flavor profile of pierogies and combine it with the format of nachos?
When I pulled the tray out of the oven, I knew I was onto something. The edges were crispy, the cheese was bubbling, and the aroma was exactly what I had been craving.
The first bite sealed it. It had that familiar creamy, savory flavor—but with an entirely new texture that made it even more enjoyable. Since then, it’s become one of my favorite “comfort meals without guilt.”
Kitchen Equipment You’ll Need (And Why It Matters)
Mixing Bowl
Used for preparing the dough base. A medium-sized bowl gives enough space to mix thoroughly.
Baking Tray
Essential for creating that crispy nacho-style base. A flat surface ensures even cooking.
Parchment Paper
Prevents sticking and helps with easy cleanup.
Spatula or Spoon
For spreading and shaping the dough evenly.
Knife or Cutter
Used to cut the dough into nacho-style pieces.
Oven
Critical for achieving that crispy texture.
Ingredients (With Purpose & Substitutions)
For the Pierogi “Nacho” Base:
- 1½ cups mozzarella cheese (shredded)
- ¾ cup almond flour
- 2 tbsp cream cheese
- 1 egg
For the Toppings:
- ½ cup sour cream
- 1 cup shredded cheddar cheese
- ½ cup cooked shredded chicken (optional for protein)
- ¼ cup green onions
- 2 tbsp butter
Why These Ingredients Work
Mozzarella + Almond Flour
This creates a keto dough that’s flexible, slightly chewy, and crisps beautifully.
Cream Cheese
Adds softness and helps bind the dough.
Egg
Gives structure and prevents crumbling.
Cheddar + Sour Cream
Deliver that classic pierogi-style creamy, cheesy flavor.
Smart Substitutions
- Use Greek yogurt instead of sour cream for lighter version
- Add turkey bacon or beef bacon for smoky flavor
- Use coconut flour (adjust quantity) if needed
- Add sautéed mushrooms for extra depth
Step-by-Step Cooking Process
Step 1: Prepare the Dough
Melt mozzarella and cream cheese together until smooth. Add almond flour and egg, then mix into a soft dough.
Step 2: Shape the Base
Spread the dough onto a lined baking tray and flatten evenly. Cut into triangle or square “nacho” shapes.
Step 3: Bake Until Crispy
Bake at 180°C (350°F) for 12–15 minutes until golden and slightly crisp.
Step 4: Add Toppings
Remove from oven, add cheese, chicken, and butter.
Step 5: Final Bake
Return to oven for 5 minutes until cheese melts.
Step 6: Finish & Serve
Top with sour cream and green onions.
Health & Nutrition Insights
These Keto Pierogi Nachos (Low Carb Loaded Comfort Food with Cheesy Toppings) are designed for both satisfaction and balance.
- High in protein → keeps you full longer
- Healthy fats → support sustained energy
- Low carbs → maintain ketosis
- No refined flour → better digestion and blood sugar control
Serving & Pairing Ideas
- Serve as a main comfort meal
- Pair with fresh salad for balance
- Great for game nights or gatherings
- Add spicy sauce for extra kick
Storage & Meal Prep Tips
- Store in fridge for up to 3 days
- Reheat in oven for crispiness
- Avoid microwave (softens texture)
- Not ideal for freezing
FAQ Section
Can I make this vegetarian?
Yes, skip chicken and add veggies.
Is it very heavy?
It’s rich, but portion-controlled.
Can I use coconut flour?
Yes, but use less as it absorbs more moisture.
Kitchen Tips & Troubleshooting
- Don’t overbake base—can become too hard
- Spread dough evenly for consistent texture
- Let it cool slightly before cutting
Nutrition Breakdown (Per Serving)
- Calories: 350
- Protein: 18g
- Fat: 28g
- Carbs: 7g
- Net Carbs: 4g
Recipe Details
- Prep Time: 15 minutes
- Cook Time: 20 minutes
- Total Time: 35 minutes
- Course: Main / Snack
- Cuisine: Fusion Comfort Food
- Servings: 4
- Calories: 350
Closing Note
Sometimes the best recipes come from reimagining what you already love. This dish proves that comfort food doesn’t have to be left behind—it just needs a fresh perspective.

Keto Pierogi Nachos Recipe
Ingredients
Method
- In a microwave-safe bowl or using a double boiler, combine the shredded mozzarella and cream cheese. Heat gently in short intervals (20–30 seconds at a time if using a microwave), stirring in between each interval until both cheeses are completely melted and smooth. The mixture should look glossy and stretchy, with no lumps remaining. Be careful not to overheat, as this can make the cheese oily instead of smooth.
- While the cheese is still warm, add the almond flour and the egg directly into the bowl. Using a spatula or your hands (lightly greased to prevent sticking), mix everything together quickly until it forms a soft, uniform dough. Keep mixing and kneading for a minute or two until the dough becomes smooth and slightly elastic. If it feels too sticky, you can lightly dust your hands with almond flour.
- Place the dough onto a baking tray lined with parchment paper. Using your hands or a spatula, press and spread it out into an even layer, about ¼ inch thick. Try to keep the thickness consistent so it cooks evenly. Once spread, use a knife or pizza cutter to gently score or cut the dough into triangle or square “nacho-style” shapes before baking—this makes it easier to separate later.
- Transfer the tray to a preheated oven at 180°C (350°F) and bake for about 12–15 minutes. Keep an eye on it during the last few minutes—the edges should turn golden brown and slightly crisp. Avoid overbaking, as the base can become too hard instead of lightly crunchy.
- Remove the tray from the oven and let it cool slightly for a minute or two. Then, carefully add your toppings—sprinkle shredded cheddar cheese evenly over the surface, followed by any cooked protein like shredded chicken or beef bacon if using. Distribute everything evenly so each piece gets a good amount of topping.
- Place the tray back into the oven for another 4–5 minutes, just until the cheese is fully melted and bubbly. Watch closely to prevent burning. Once done, remove from the oven and let it rest briefly so the toppings settle and the base firms up slightly.
- Serve warm by transferring the pieces to a plate or serving tray. Add a dollop of sour cream on top of each piece and sprinkle freshly chopped green onions for a fresh, slightly sharp finish. For best texture and flavor, enjoy while still warm when the cheese is soft and the base is perfectly crisp.


Leave a Reply