Place the softened cream cheese into a mixing bowl and begin beating it using a hand mixer or whisk. Start slowly, then increase the speed as it loosens up. Continue mixing until the texture becomes completely smooth, creamy, and free of any lumps. This step is important—well-whipped cream cheese creates the silky base that gives the dessert its signature cheesecake feel.
Add the powdered sweetener and vanilla extract directly into the cream cheese. Mix again until everything is fully incorporated. Take a moment to scrape down the sides of the bowl so nothing is left unmixed. The mixture should now taste lightly sweet and fragrant, with a smooth, slightly thick consistency.
In a separate clean bowl, pour in the heavy cream and begin whipping it. Start at a low speed and gradually increase until soft peaks form. You’ll know it’s ready when the cream holds its shape but still looks soft and airy—not stiff or grainy. Be careful not to overwhip, as it can turn dense and affect the final texture.
Gently add the whipped cream into the cream cheese mixture in portions. Using a spatula, fold it in slowly by scooping from the bottom and turning it over the top. Avoid stirring too aggressively, as this can deflate the air you just created. Continue folding until the mixture becomes light, fluffy, and evenly combined.
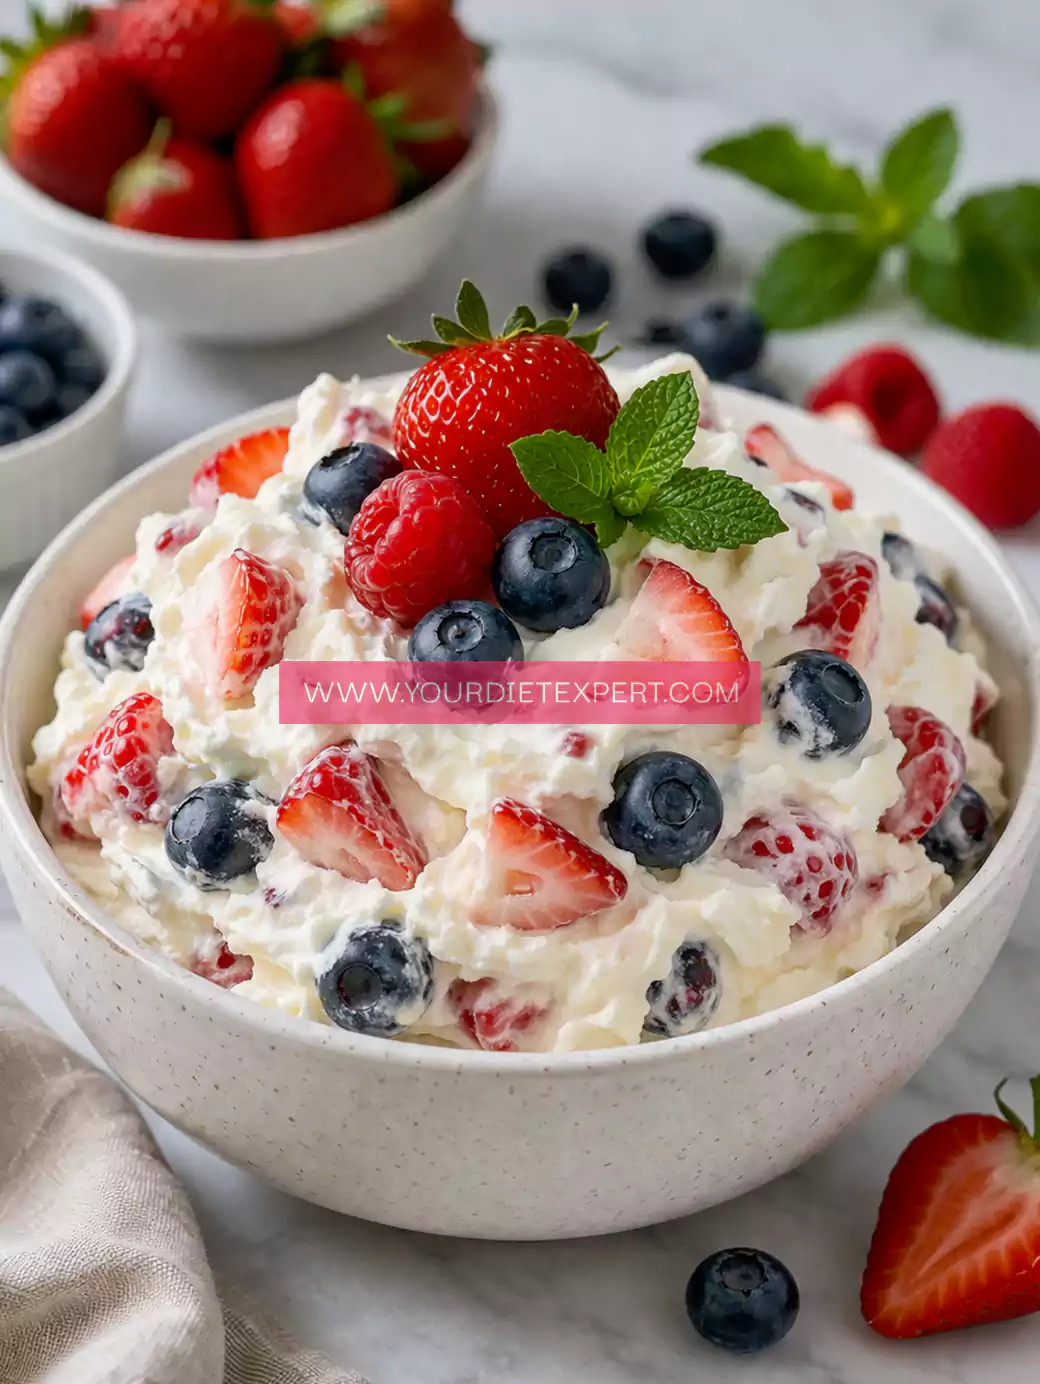
Add your berries to the mixture and gently fold them in. Use slow, careful motions to distribute them evenly without crushing them. Keeping the berries intact adds freshness, color, and a pleasant texture contrast in every bite.
Transfer the finished mixture into a serving bowl, smoothing the top lightly with a spatula. Cover and place it in the refrigerator for at least 1 hour. This chilling time allows the flavors to blend and the texture to set slightly, making it thicker, creamier, and more refreshing when served.