Place the softened cream cheese into a large mixing bowl, then add the keto-friendly sweetener and vanilla extract. Using a hand mixer or sturdy whisk, mix slowly at first and then increase speed until the mixture becomes completely smooth, creamy, and free of lumps. Take your time here, scraping down the sides of the bowl as needed, because a smooth base is key to a silky cheesecake texture.
In a separate bowl, pour in the cold heavy cream and whip it until soft peaks form. The cream should hold its shape but still look light and fluffy, not stiff or grainy. Once ready, gently fold the whipped cream into the cheesecake mixture using a spatula. Use slow, sweeping motions to keep as much air in the mixture as possible, which helps the cheesecake stay light instead of dense.
In another bowl, combine the almond flour with the melted butter. Stir until the mixture looks crumbly and evenly coated, similar to a soft crumble topping. If you’re using crushed strawberries, gently mix them in at this stage so they’re evenly distributed throughout the crunch layer without turning the mixture wet or sticky.
Line a square or rectangular tray with parchment paper, making sure some paper hangs over the sides for easy removal later. Press half of the crunch mixture firmly and evenly into the bottom of the tray, using the back of a spoon or spatula to create a compact, even base that will hold together when sliced.
Spoon the cheesecake mixture over the prepared base and spread it out evenly. Smooth the top with a spatula, working gently so you don’t disturb the crust underneath. Take a moment to make the surface as level as possible for clean-looking chunks later.
Sprinkle the remaining crunch mixture evenly over the top of the cheesecake layer. Press it down very lightly with your hands or a spatula so it sticks, but avoid pressing too hard, as you want to keep the crunchy texture on top.
Transfer the tray to the refrigerator and let it chill for at least 3–4 hours, or overnight if possible. This chilling time allows the cheesecake to fully set and the flavors to meld, making the chunks easier to cut and more satisfying to eat.
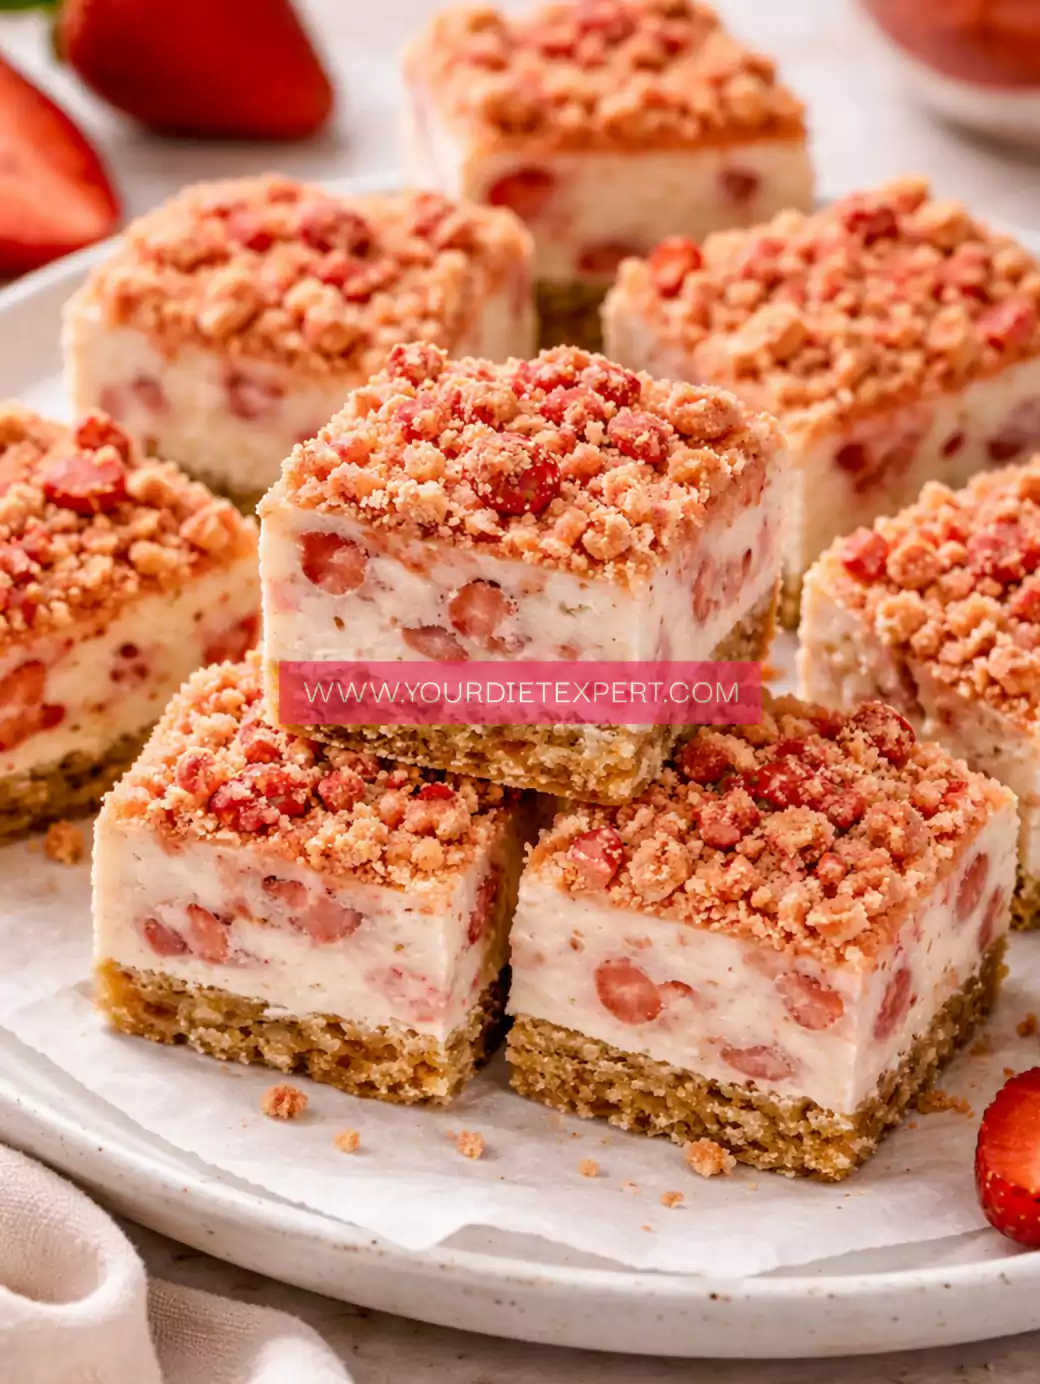
Once fully set, lift the cheesecake out of the tray using the parchment paper. Place it on a cutting board and slice it into evenly sized chunks using a sharp knife, wiping the blade clean between cuts. Serve chilled and enjoy the creamy, crunchy texture in every bite.