Warm Introduction
The first time I made Keto Cloud Cake, I honestly didn’t expect it to become one of those “make it again tomorrow” kind of desserts. It was one of those late evenings when I wanted something sweet but light—something that wouldn’t undo an entire day of clean eating. I had eggs, a little cream cheese, and that familiar keto craving for something airy and satisfying. What came out of my oven felt almost magical.
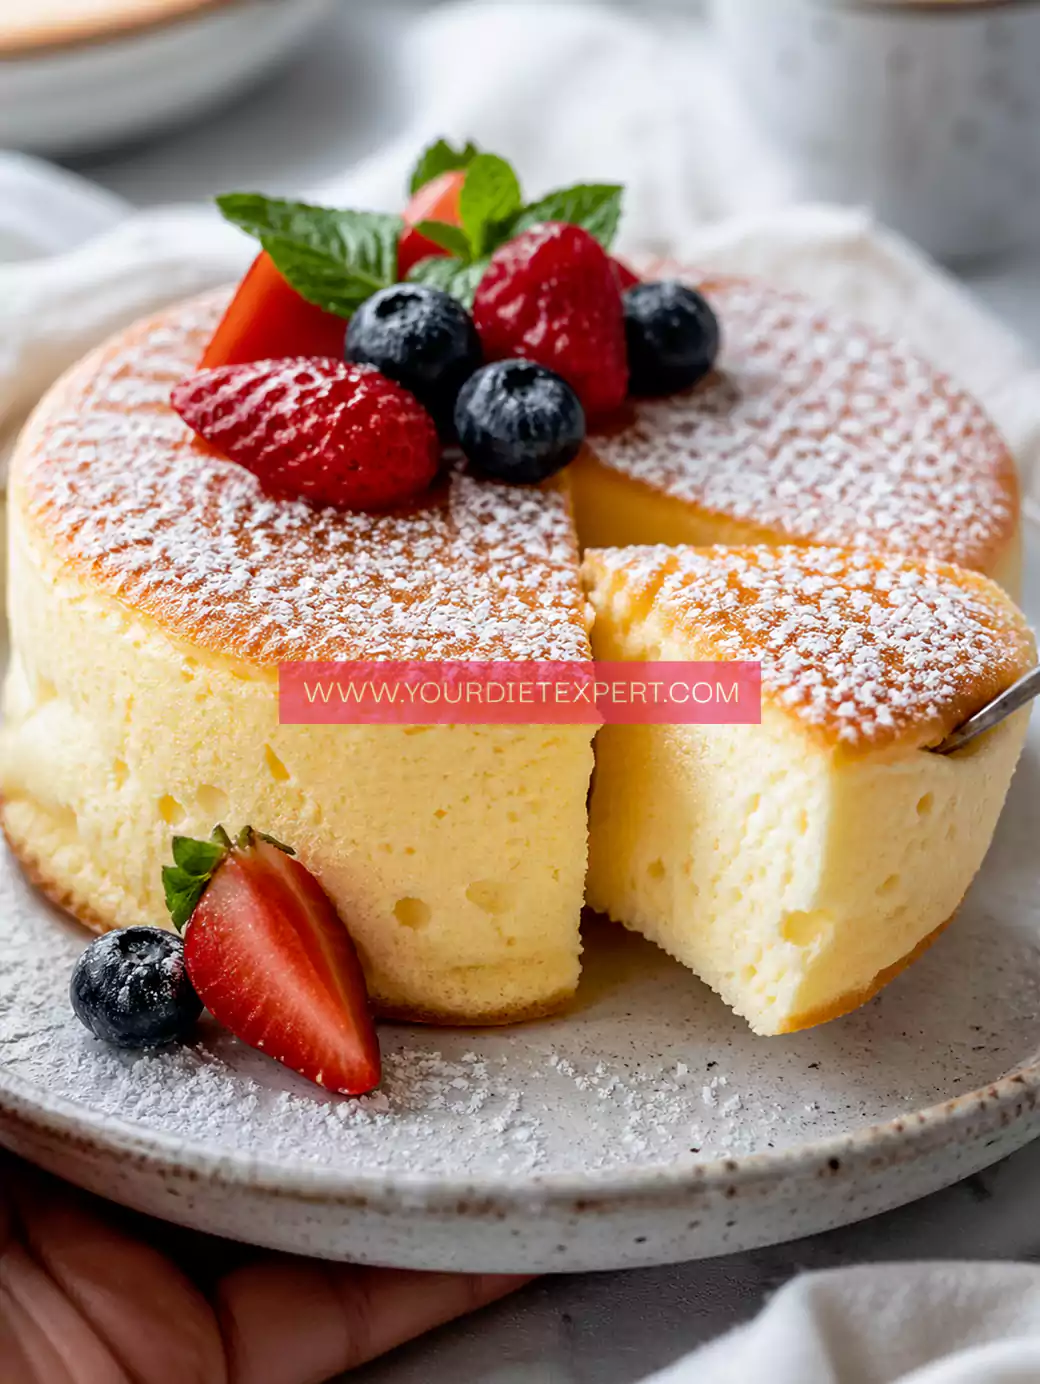
This Keto Cloud Cake is exactly what its name promises—soft, pillowy, and incredibly light, like biting into a sweet cloud. For anyone following a low-carb lifestyle, desserts often feel heavy or overly dense. But this one flips the script. It’s delicate, fluffy, and subtly sweet, making it perfect for those who want indulgence without the guilt.
Whether you’re deep into keto, trying to reduce sugar, or simply looking for a healthier dessert option, this cake fits right into your lifestyle. And the best part? It’s surprisingly simple to make once you understand the technique.
What Makes This Keto Cloud Cake Stand Out
Unlike traditional cakes loaded with flour and sugar, this recipe relies on air and structure rather than heaviness. That’s what makes it so unique.
First, the texture is unmatched. Most low-carb desserts lean toward dense or fudgy, but this one is the opposite. It’s airy and soft, almost like a soufflé meets sponge cake. Secondly, it uses minimal ingredients, which makes it not only cost-effective but also incredibly clean in terms of nutrition.
Another standout feature is how versatile it is. You can enjoy it plain, add berries, drizzle sugar-free syrup, or even turn it into a layered dessert. It adapts beautifully depending on your mood.
And finally, it’s quick. From start to finish, you’re looking at under an hour, which is perfect for those moments when you need something sweet without spending all day in the kitchen.
Personal Blogger Note
I still remember pulling this cake out of the oven for the first time. It had risen beautifully, with a golden top and a slight jiggle in the center. I let it cool just enough before taking a bite—and that first forkful? Light, slightly creamy, and perfectly balanced.
Since then, I’ve made this recipe after workouts, during weekend cravings, and even as a quick dessert for guests who didn’t believe something this fluffy could be keto-friendly.
One thing I’ve learned after making this multiple times is that patience is everything. From whipping the egg whites properly to folding them gently—each step contributes to that signature cloud-like texture. Once you get the hang of it, though, it becomes second nature.
Equipment You’ll Need (And Why It Matters)
- Mixing Bowls (at least two)
You’ll need separate bowls for egg whites and yolks. Keeping them separate ensures proper whipping and structure. I always prefer slightly larger bowls to avoid spills while folding. - Hand Mixer or Stand Mixer
This is essential for whipping egg whites to stiff peaks. While you can technically do it by hand, it’s time-consuming and inconsistent. - Spatula (Silicone works best)
Folding is a delicate process. A flexible spatula helps you gently combine mixtures without deflating the air. - Baking Pan (8-inch recommended)
A smaller pan helps the cake rise properly. I’ve found that using the right size makes a big difference in height and texture. - Parchment Paper
Prevents sticking and ensures easy removal. Trust me, skipping this step can ruin an otherwise perfect cake. - Oven
Even baking is key. Make sure it’s preheated properly—this cake relies on consistent heat to rise.
Ingredients with Substitutions
- 4 large eggs (separated)
Eggs are the backbone of this recipe. The whites create the fluffy structure, while the yolks add richness.
Substitution: Not recommended—eggs are essential here. - 113g (½ cup) cream cheese (softened)
Adds creaminess and slight tang, balancing the sweetness.
Substitution: Mascarpone can work for a milder flavor. - ¼ cup powdered erythritol (or keto sweetener)
Provides sweetness without spiking blood sugar.
Substitution: Monk fruit sweetener works well too. - ½ teaspoon vanilla extract
Enhances flavor and adds warmth.
Substitution: Almond extract for a slightly nutty twist. - ¼ teaspoon cream of tartar
Stabilizes egg whites for better peaks.
Substitution: A few drops of lemon juice. - Pinch of salt
Balances sweetness and enhances flavor.
Step-by-Step Cooking Process
Step 1: Prepare Your Oven and Pan
Preheat your oven to 160°C (320°F). Line your baking pan with parchment paper, making sure the sides are covered. This prevents sticking and helps the cake rise evenly.
Step 2: Separate the Eggs Carefully
Crack each egg and separate the yolks from the whites. Make sure no yolk gets into the whites, as even a small amount can prevent proper whipping.
Step 3: Whip the Egg Whites
Add cream of tartar to the egg whites and begin whipping. Start slow, then increase speed until stiff peaks form. You’ll know they’re ready when they hold their shape firmly.
Step 4: Mix the Yolks and Cream Cheese
In another bowl, beat the egg yolks with softened cream cheese until smooth. Add sweetener, vanilla extract, and salt. Mix until creamy and lump-free.
Step 5: Fold the Mixtures Together
This is the most important step. Add a small portion of egg whites to the yolk mixture and gently mix to loosen it. Then, slowly fold in the remaining whites using a spatula. Use gentle motions—don’t stir aggressively.
Step 6: Transfer to Baking Pan
Pour the batter into your prepared pan. Smooth the top lightly, but don’t press down too much.
Step 7: Bake Slowly
Place in the oven and bake for 30–35 minutes. The top should be golden, and the center slightly firm.
Step 8: Cool Gradually
Turn off the oven and let the cake sit inside for 10 minutes with the door slightly open. This prevents collapse. Then remove and cool completely.
Health & Nutrition Insights
This Keto Cloud Cake isn’t just about taste—it’s also incredibly aligned with healthy eating goals.
First, it’s low in carbohydrates, making it perfect for maintaining ketosis. Traditional cakes can spike blood sugar, but this one keeps things stable.
Secondly, it’s relatively high in protein due to the eggs, which helps keep you full longer. This makes it a great post-meal dessert or even a light snack.
Additionally, it’s sugar-free, so it’s suitable for diabetics or anyone trying to reduce sugar intake. The use of keto-friendly sweeteners ensures you still get that dessert satisfaction without the crash.
Finally, it’s gluten-free by default, making it accessible to those with sensitivities or dietary restrictions.
Serving + Pairing Ideas
This cake shines on its own, but you can elevate it easily.
Serve it with fresh berries like strawberries or raspberries for a pop of color and natural sweetness. A dollop of whipped cream adds richness without overpowering the light texture.
For drinks, pair it with a warm cup of coffee or a creamy latte. The contrast between the airy cake and bold coffee is incredibly satisfying.
It’s also perfect for brunch tables, light desserts after dinner, or even as a celebratory cake with a keto twist.
Storage & Meal Prep Tips
Store leftovers in an airtight container in the fridge for up to 3 days. Because of its airy structure, it’s best enjoyed fresh, but it still holds up well when chilled.
If you want to freeze it, slice it first and wrap each piece individually. Thaw in the fridge overnight for best texture.
Avoid microwaving—it can make the cake rubbery. Instead, let it come to room temperature naturally.
Frequently Asked Questions
Can I make this dairy-free?
Yes, you can try dairy-free cream cheese alternatives, but the texture may be slightly different.
Why did my cake collapse?
This usually happens if the egg whites weren’t whipped enough or if the batter was overmixed.
Can I add flavors?
Absolutely. Lemon zest, cocoa powder, or even cinnamon can be added for variation.
Is this cake sweet enough?
It’s lightly sweet. If you prefer more sweetness, increase the sweetener slightly.
Kitchen Tips & Troubleshooting
- Always use room-temperature ingredients for smoother mixing
- Don’t rush the whipping process
- Fold gently to maintain air
- Avoid opening the oven door while baking
- Let it cool slowly to prevent sinking
Nutrition Breakdown (Per Serving)
- Calories: 120
- Protein: 6g
- Fat: 9g
- Carbohydrates: 2g
- Net Carbs: 1g
Recipe Details
Prep Time: 15 minutes
Cook Time: 35 minutes
Total Time: 50 minutes
Course: Dessert
Cuisine: Keto / Low-Carb
Servings: 8
Calories: 120
Closing Note
This Keto Cloud Cake is one of those recipes that feels almost too simple for how good it turns out. Once you try it, it quickly becomes a staple for those light, guilt-free dessert moments.
Keto Cloud Cake Recipe
Ingredients
Method
- Preheat your oven to 160°C (320°F) and take a moment to line your baking pan with parchment paper, making sure it covers both the base and the sides. This step is more important than it seems—it not only prevents sticking but also helps the delicate cake rise evenly and release without breaking later.
- Crack each egg carefully and separate the yolks from the whites into two completely clean bowls. Even a tiny bit of yolk in the whites can prevent them from whipping properly, so take your time here. If needed, separate eggs one by one in a small bowl before adding to the main bowl.
- Add the cream of tartar to the bowl of egg whites, then begin beating at a low speed. Gradually increase the speed as bubbles form, and continue until you reach stiff peaks. You’ll know it’s ready when the mixture looks glossy and holds its shape firmly when you lift the beaters—this is what gives the cake its signature airy texture.
- In the second bowl, add the egg yolks and softened cream cheese. Beat them together until the mixture becomes completely smooth, creamy, and lump-free. This may take a couple of minutes, but don’t rush—any lumps here will affect the final texture of the cake.
- Add your sweetener, vanilla extract, and a small pinch of salt into the yolk mixture. Mix again until everything is fully incorporated and the batter looks silky and uniform. At this stage, the mixture should have a slightly thick but smooth consistency.
- Take a small portion of the whipped egg whites (about one-third) and gently fold it into the yolk mixture. This first addition helps loosen the batter, making it easier to combine the rest without deflating the air.
- Now add the remaining egg whites in two batches, folding very gently with a spatula. Use slow, sweeping motions from the bottom of the bowl upwards. Avoid stirring or overmixing—your goal is to keep as much air in the batter as possible for that light, cloud-like texture.
- Pour the batter into your prepared baking pan. Use the spatula to spread it evenly, but avoid pressing down or over-smoothing the top, as this can knock out some of the air you just worked to build.
- Place the pan in the preheated oven and bake for 30–35 minutes. The top should turn a soft golden color, and the center should feel set but still slightly springy when gently touched. Try not to open the oven door too often, as temperature changes can affect the rise.
- Once baking is complete, turn off the oven and leave the cake inside with the door slightly open for about 10 minutes. This gradual cooling helps prevent the cake from collapsing due to sudden temperature changes.
- Carefully remove the cake from the oven and let it cool completely at room temperature before slicing. This final resting time allows the structure to set fully, making it easier to cut clean slices and enjoy that soft, fluffy texture.


Leave a Reply