Start by washing the blueberries very well under cold running water, gently rubbing them between your fingers to remove any dirt or residue. After washing, spread them out on a clean kitchen towel or paper towel and let them dry completely. This step is more important than it seems—any extra water can form ice crystals later and ruin the creamy texture of your ice cream.
Once the blueberries are fully dry, add them into a blender along with the Greek yogurt, your chosen keto sweetener, vanilla extract, and lemon juice. Blend everything together until the mixture becomes completely smooth and creamy, with no visible chunks. Take a moment here to scrape down the sides of the blender if needed, so everything blends evenly and you get a consistent texture.
Now pour in the heavy cream and blend again, but this time do it gently and briefly. You don’t want to over-blend at this stage because that can whip too much air into the mixture and affect the final texture. Just blend until the cream is fully combined and the mixture looks thick, silky, and uniform.
Pause and taste the mixture before moving forward. This is your chance to adjust the sweetness exactly to your liking. If you prefer it sweeter, add a little more sweetener and blend again briefly. Keep in mind that flavors become slightly less sweet once frozen, so a slightly sweeter base is ideal.
Carefully pour the mixture into a freezer-safe container. Use a spatula to scrape out every bit from the blender, then gently smooth the top so it freezes evenly. A flat surface helps prevent uneven freezing and makes scooping easier later.
Place the container in the freezer and let it freeze for about 3 to 4 hours. About halfway through (around the 1.5–2 hour mark), take it out and give it a good stir using a spoon or fork. This step helps break up any ice crystals and keeps the texture creamy rather than icy.
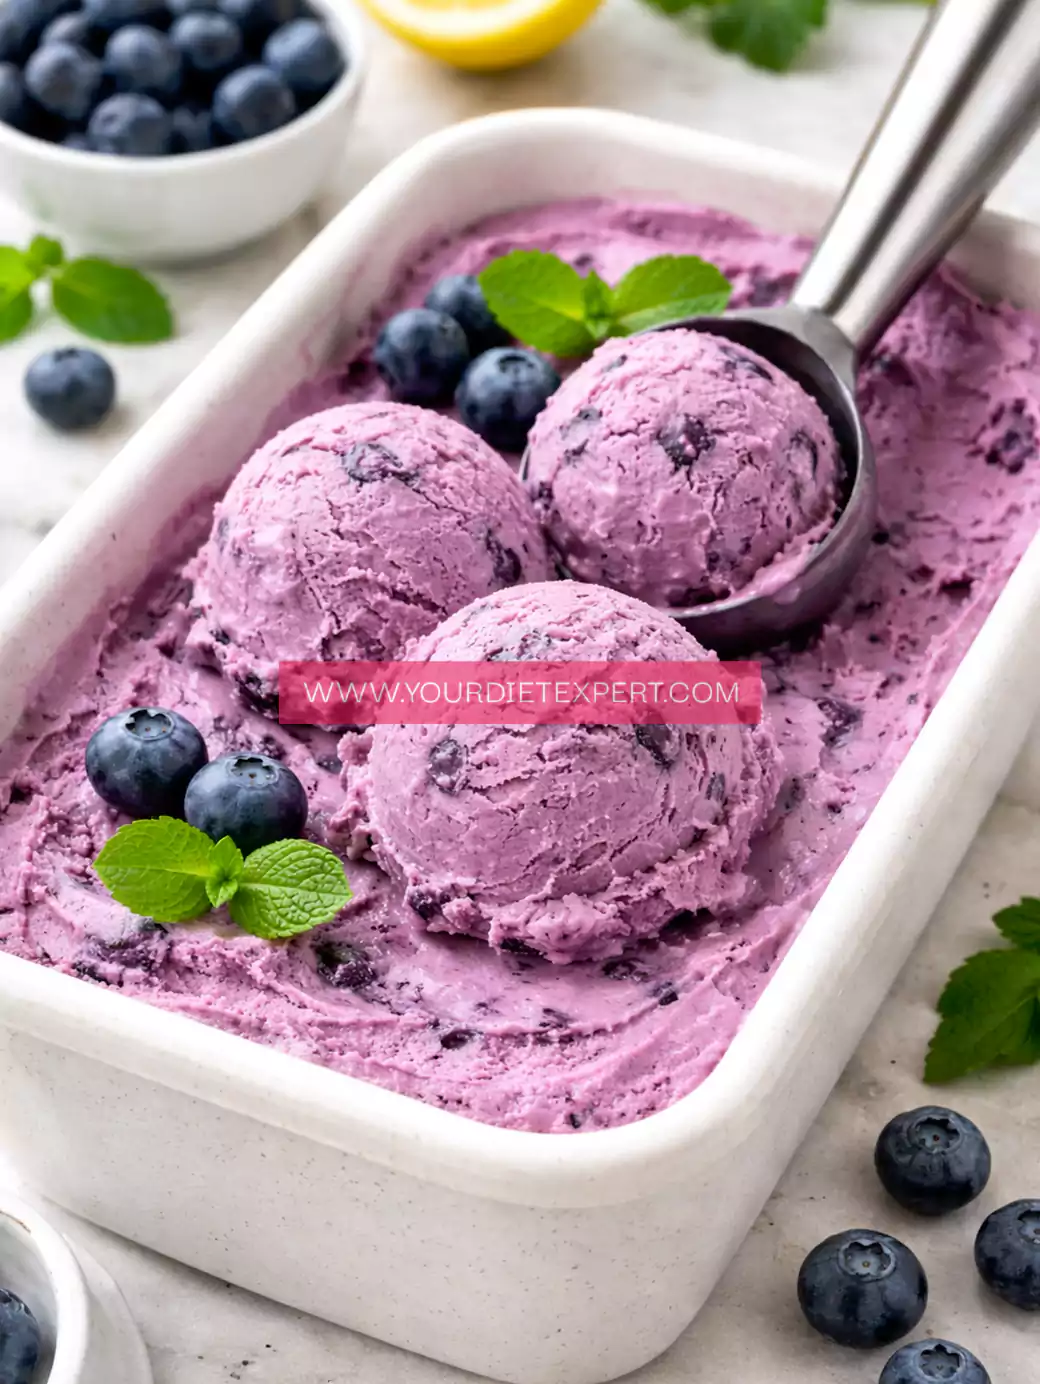
Once fully frozen, remove the ice cream from the freezer and let it sit at room temperature for 5–10 minutes before scooping. This softens it slightly, making it much easier to scoop and giving you that perfect, smooth, creamy consistency similar to traditional ice cream.